|
I never thought I would have enjoyed this project as much as I did, but I really did. I didn't realize how much I enjoyed shooting portraits. For this project, we had to shoot 2 different shots, a window light photo and a studio portrait. We had groups of 3 and we had to try to take the best portrait we could. For my pictures, I used a classmate of mine named Aidan as the subject. Here is how it came out. 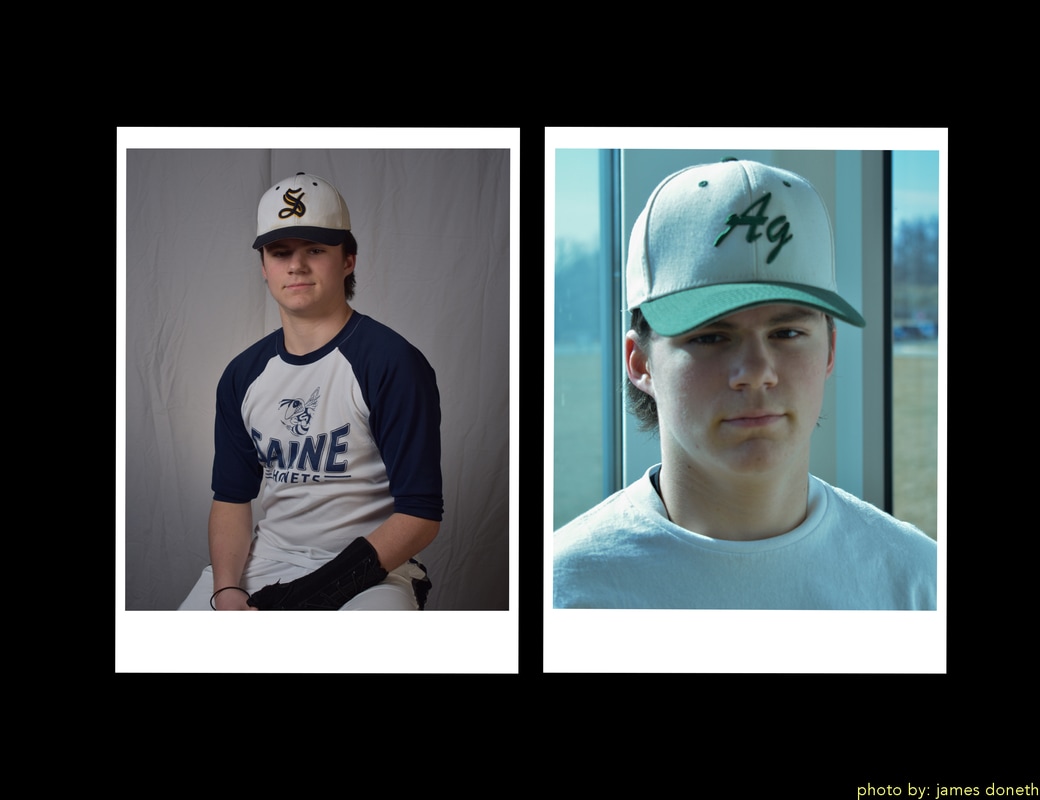 Image on left: f/4.5, 1/100, ISO 200~~~~~~~~Image on right: f/5.6, 1/100, ISO 100. The image on the left is the studio portrait, which came out very well. I had to make 0 adjustments to the image, even cropping. How the image is there is how I took it. I really like that one. The one on the right was the window light shot, which I personally think is outstanding, besides for the slight focusing issue. I think the vibe it gives off is really great and I think the background adds a bit to the image.
I did have to make edits to the window light image, as there were issues with it. These edits were done through camera raw and had these adjustments: WB changed to +9/+8, exposure lowered to -.65, contrast changed to +3, highlights lowered to -33, shadows lowered to -12, whites lowered to -27, and blacks were lowered to -36. I thought they made the image look far better and improve overall quality of my photographs. This project was definitely in my top 3 of projects so far and I hope to be able to shoot more portraits in the future, as I really enjoyed taking them. I may do portraits as the theme of my next shooting assignment due to this. I look forward to the next photoshop assignments we have coming up and how I can improve my ability to use this program, but also my ability to take images overall.
0 Comments
I would like to start by saying this is my favorite assignment so far. I feel like I have learned a lot from this and this time to be able to learn things that I have been wanting to learn in Photoshop. I did multiple different tutorials, but the main one I want to focus on was my first one. I really wanted to learn how to make smoke effects in PS and this tutorial really helped me. The full resolution of the image that the tutorial used was unavailable, so I decided to use this image of Jabrill Peppers. 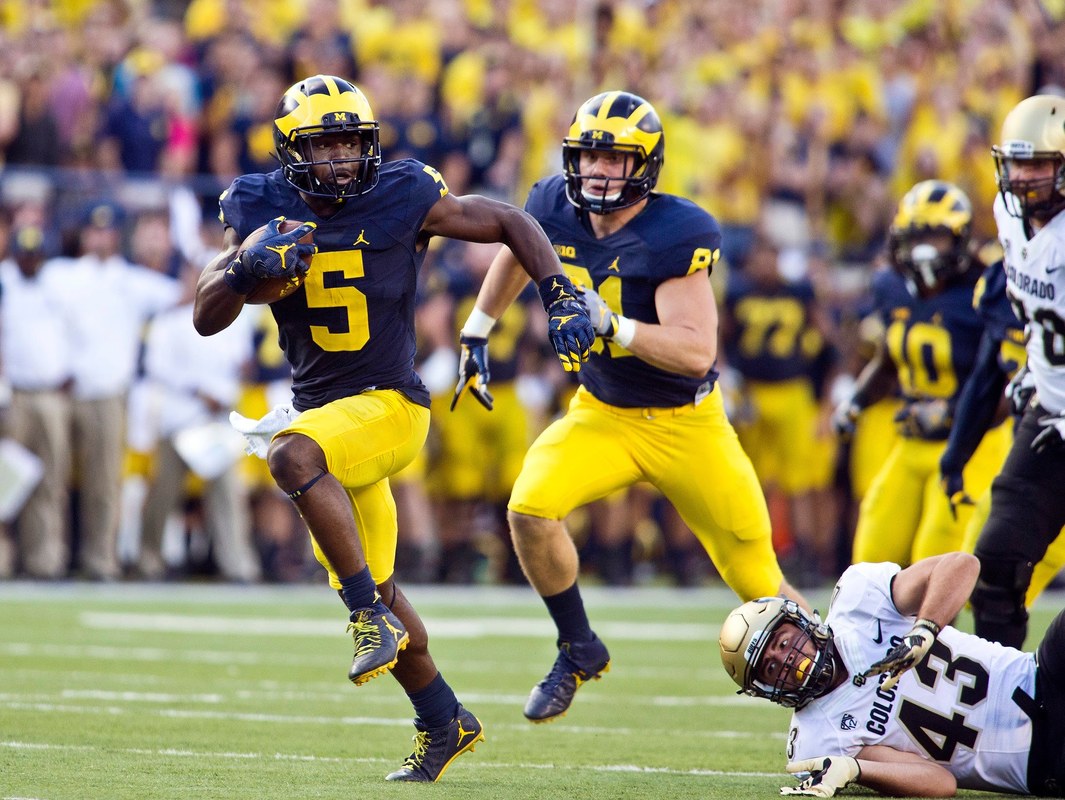 Photo by Tony Ding, Associated Press I really followed the steps that this tutorial gave me and I thought the finished product came out extremely good. 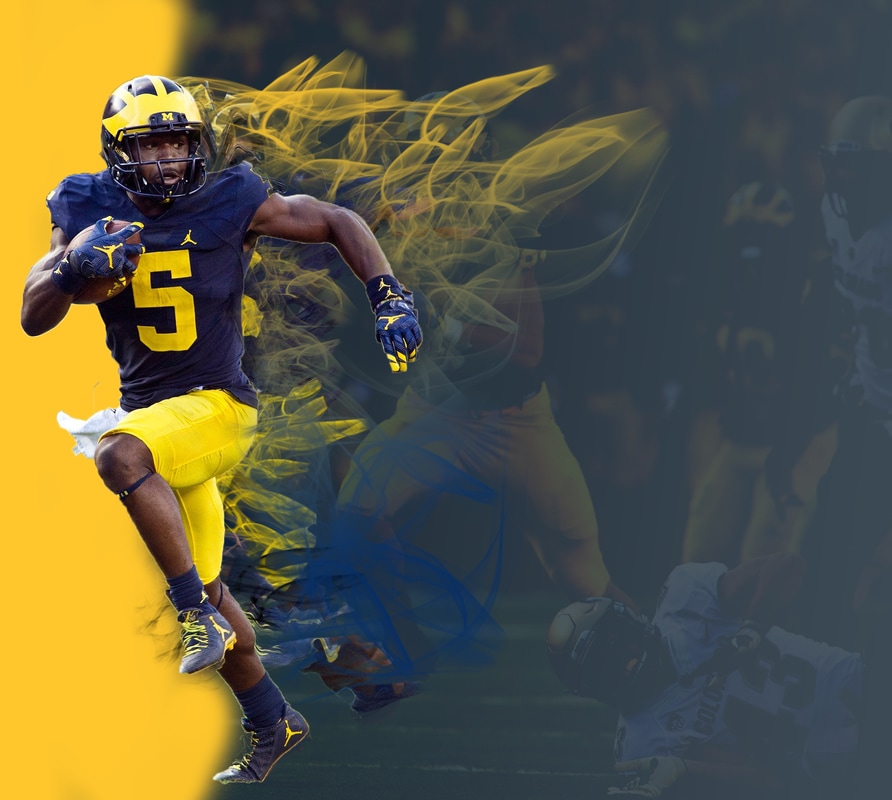 How I was able to create some of the smoke effect was by using different filters and stretching the image to be able to make it wavy and distorted. I looked forward to using Photoshop more in the future and continuing to improve my overall able to use the program.
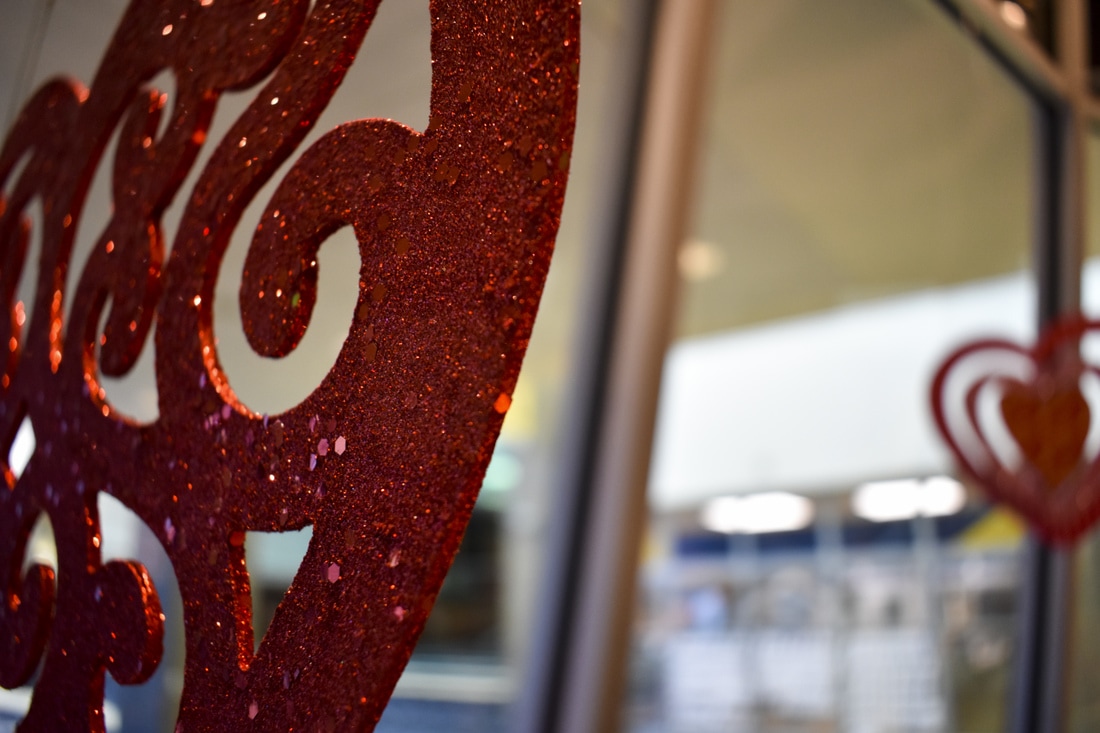
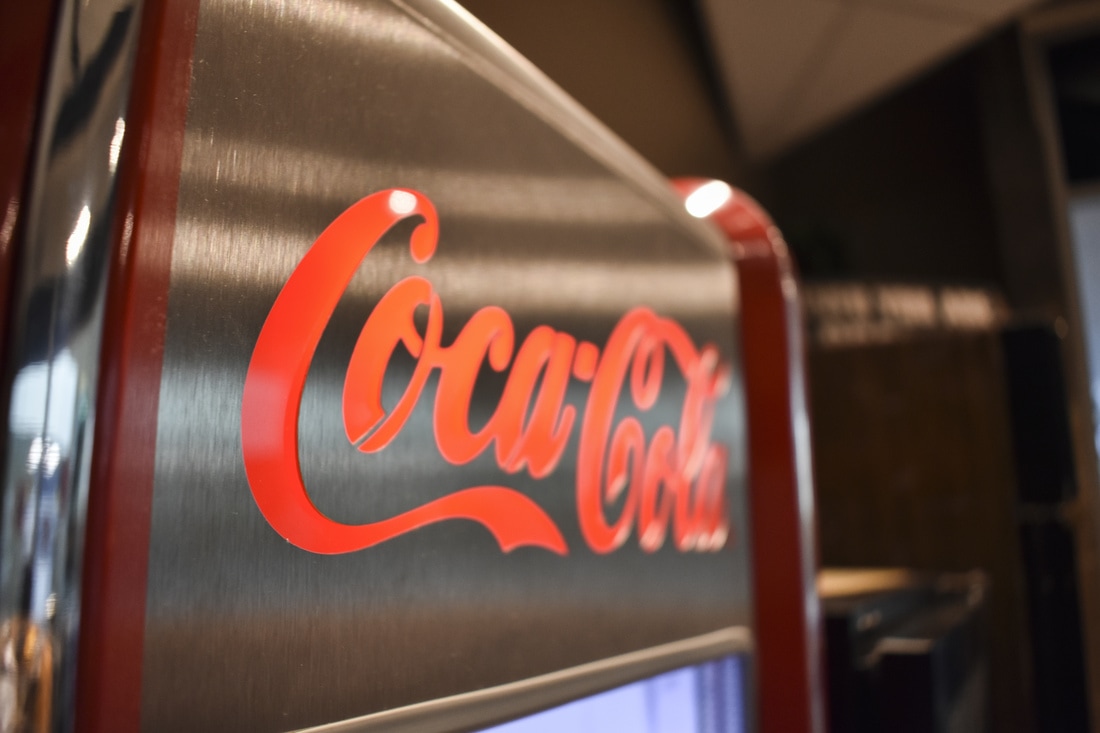
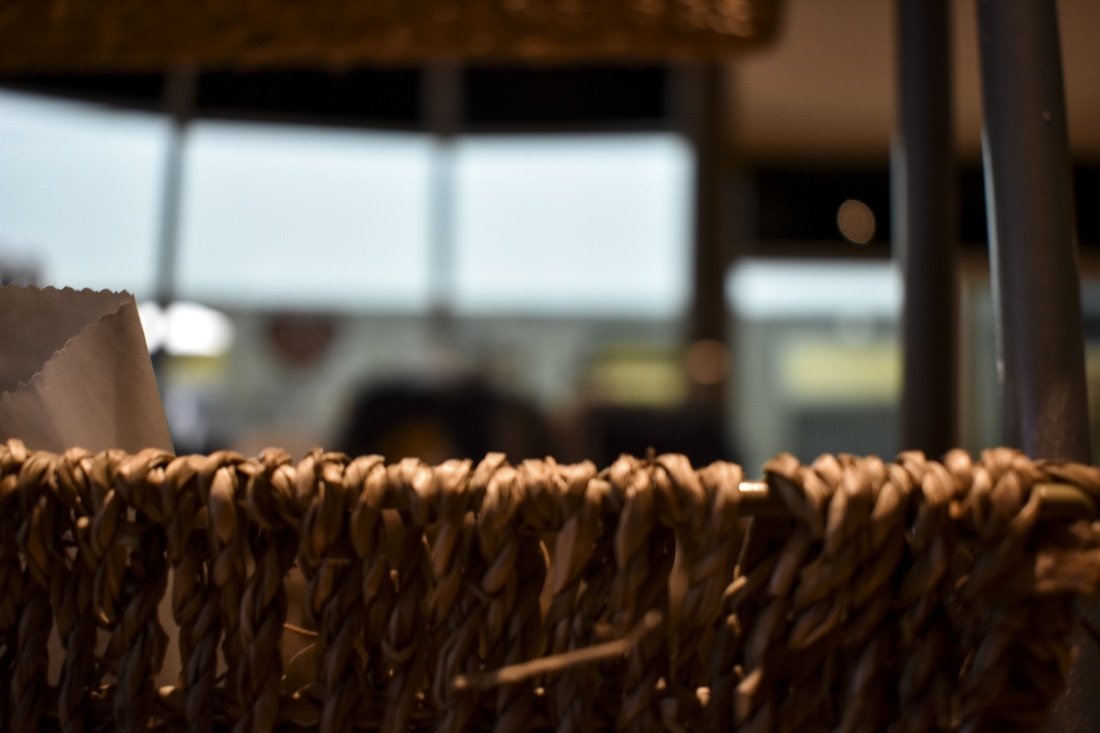
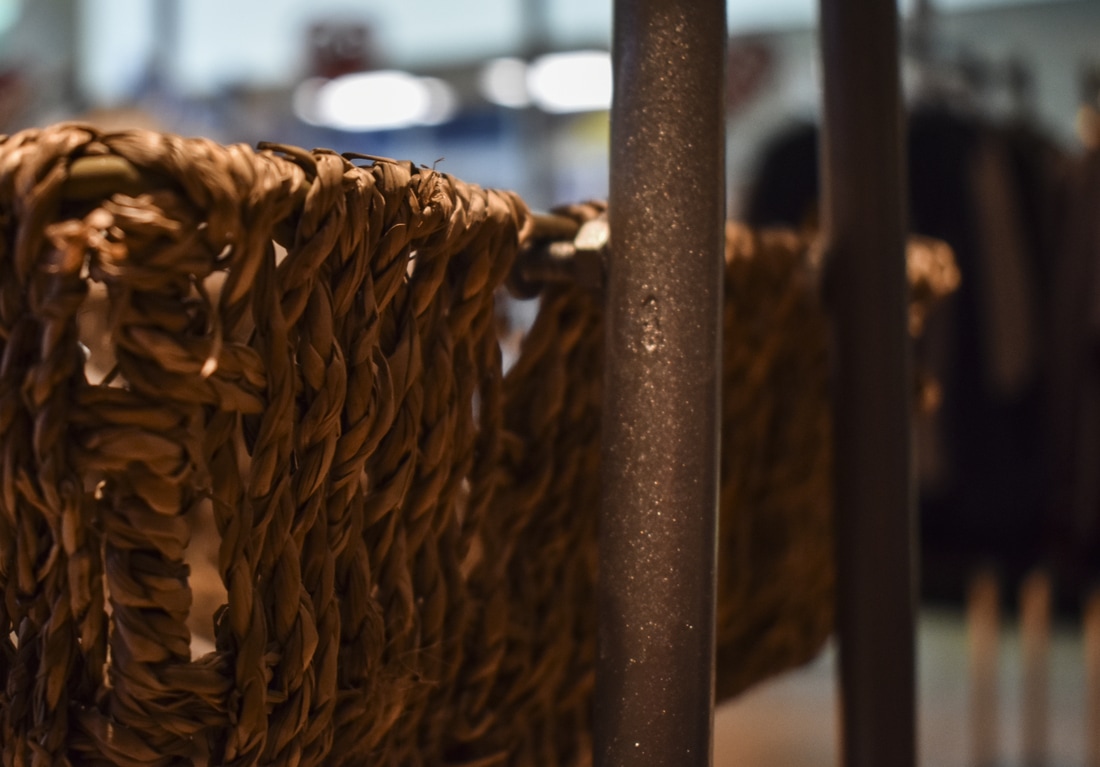
As another week goes around, another shooting assignment is due. Due to my busy schedule this last week and me getting sick over president's weekend, I was unable to shoot, so all of these images came from today. I at least tried to take some and technically, these all are able to be used because I took them before this class period. So I decided to do macro, mainly because it is the easiest to be able to quick take pictures of. Out of all the images that I took, this one was my favorite. 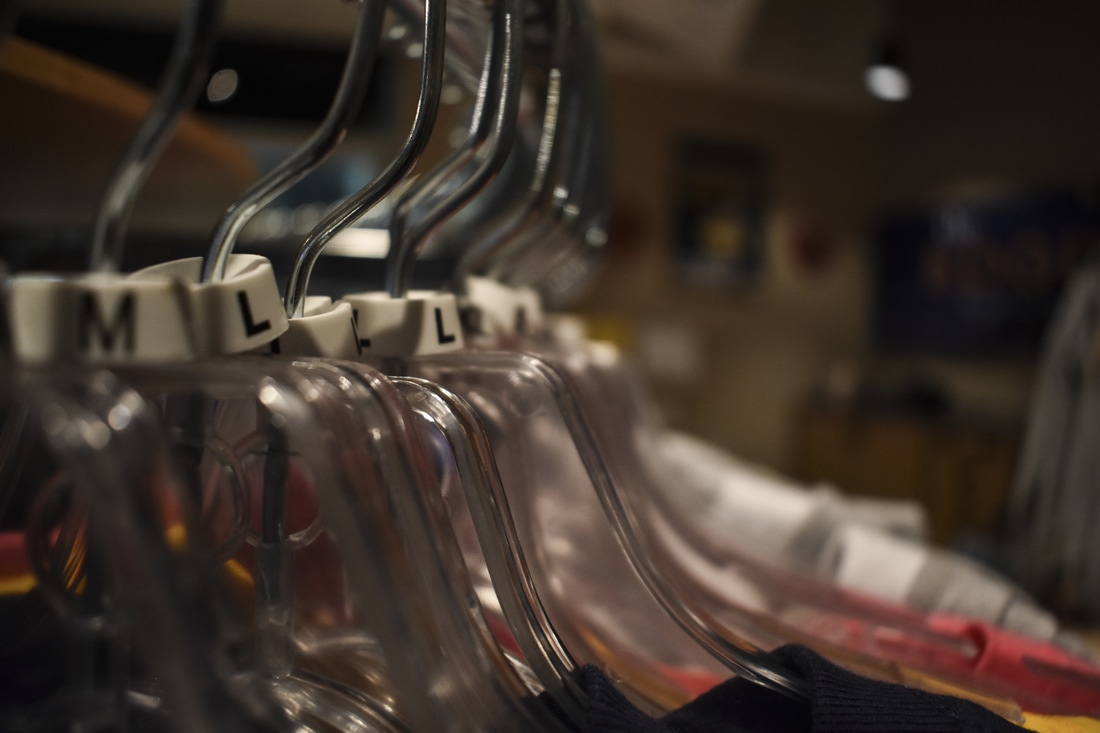 f/4.5, 1/80, ISO 800. Edits made: Exposure, contrast, highlights, and clarity have been increased. Shadows and vibrance were decreased. I took this at the EDGE during 2nd hour or the sales rack. I thought it looked unique and had a very nice depth of field in the image. The next 9 images are the best out of the 50+ photos I took. I wish I could have been able to shoot better images for this assignment, but being able to go out and shoot images is quite difficult for me. I look forward to doing a better job on my next assignment and trying to make something very unique.
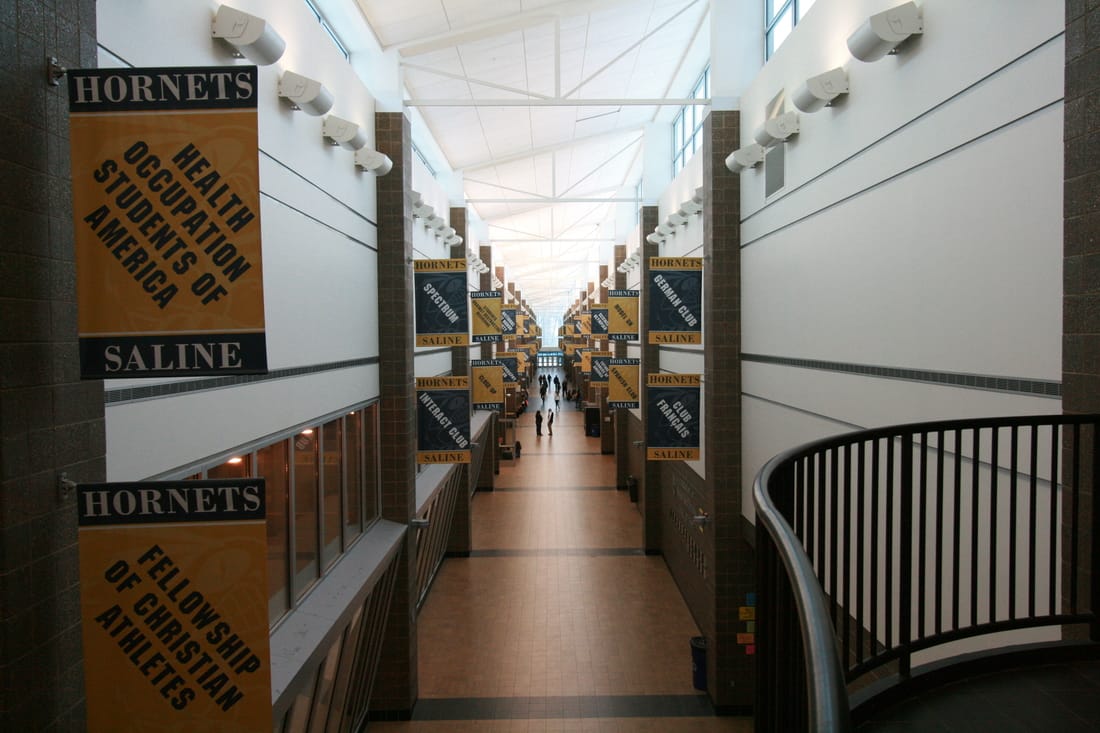
Our 2nd photoshop assignment was definitely an interesting one as we looked attempt to retouch a photo. Our goal was to be able to make the image below look better.  We were given a step-by-step tutorial on what we were supposed to do to make the image look good, as well as a demo image to try to replicate. Here is the demo image:  This was a relatively simple project for me, as I have prior experience in using Photoshop. Majority of the tools that were taught in this lesson were not new to me. Here is my attempt at retouching this image:  Another photoshop project is here and it was a great one. In this lesson, Mr. Bush taught us how to shoot panoramic images. He gave us some tips and then he sent us on our way. The requirement was to shoot 5 panoramic images featuring 3 images each. Due to my busy schedule after school, my 5 panoramas only featured the school, but they came out great! Here they are. (Note: I have one more panoramic image that was too large for Weebly, despite being under 10 MB. This is on the photo server, but not on this blog post.)  Images were shot at f/4.5, 1/60, and at an ISO of 400. Received white balance adjustments through Camera Raw Filter. Location: The Studio.  Images were shot at f/4.5, 1/60, and at an ISO of 400. Location: Mr. Bush's Classroom  Images were shot at f/4.5, 1/640, and at an ISO of 100. Location: Near the auditorium entrance of the school.  Images were shot at f/4.5, 1/40, and an ISO of 400. Location: First Floor, near the office entrance. Overall, I really enjoyed completing this photoshop assignment. It was really fun and I look forward to taking more panoramic images in the future.
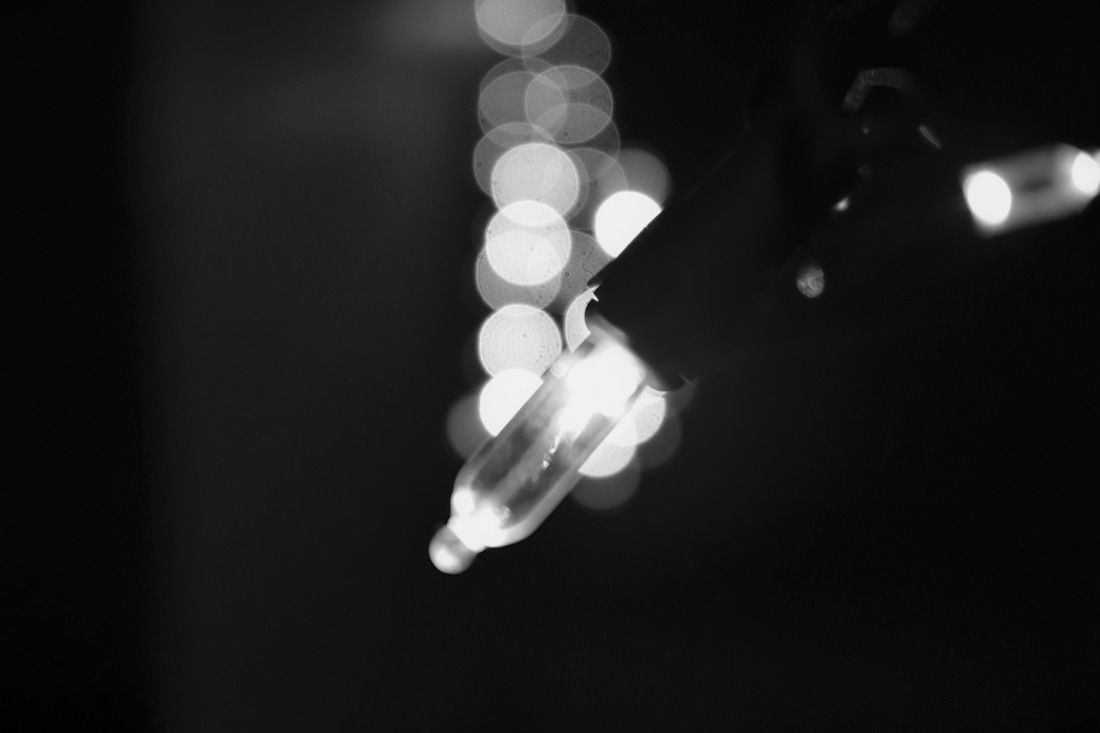
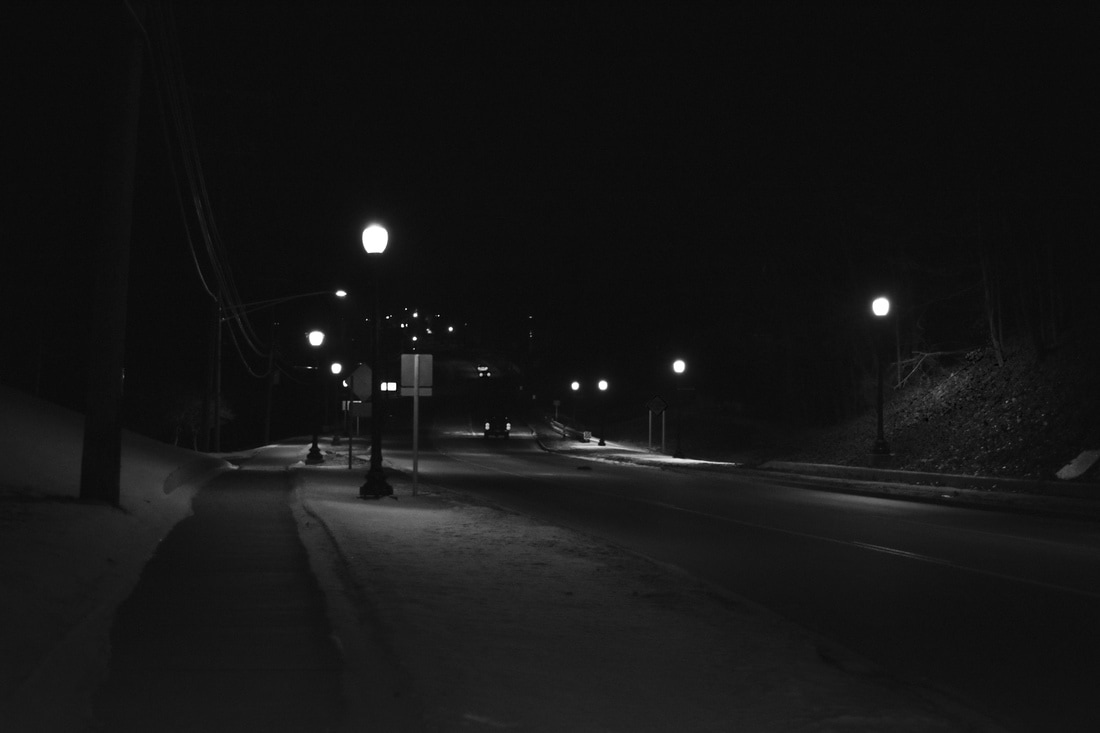
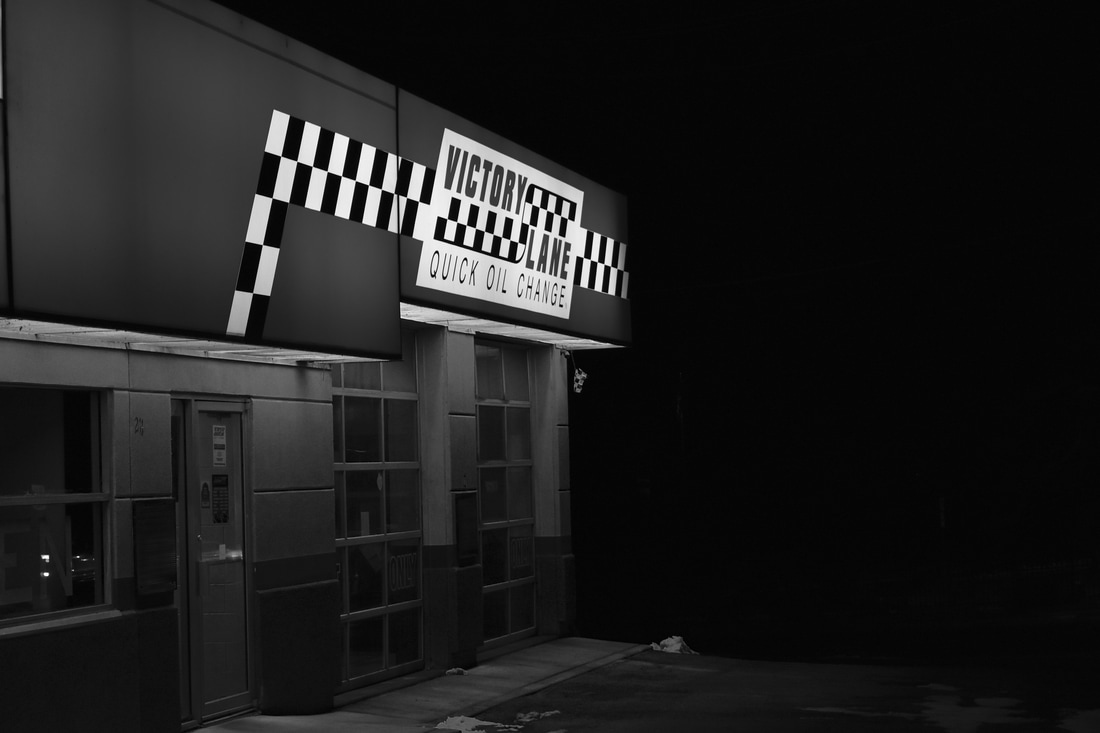
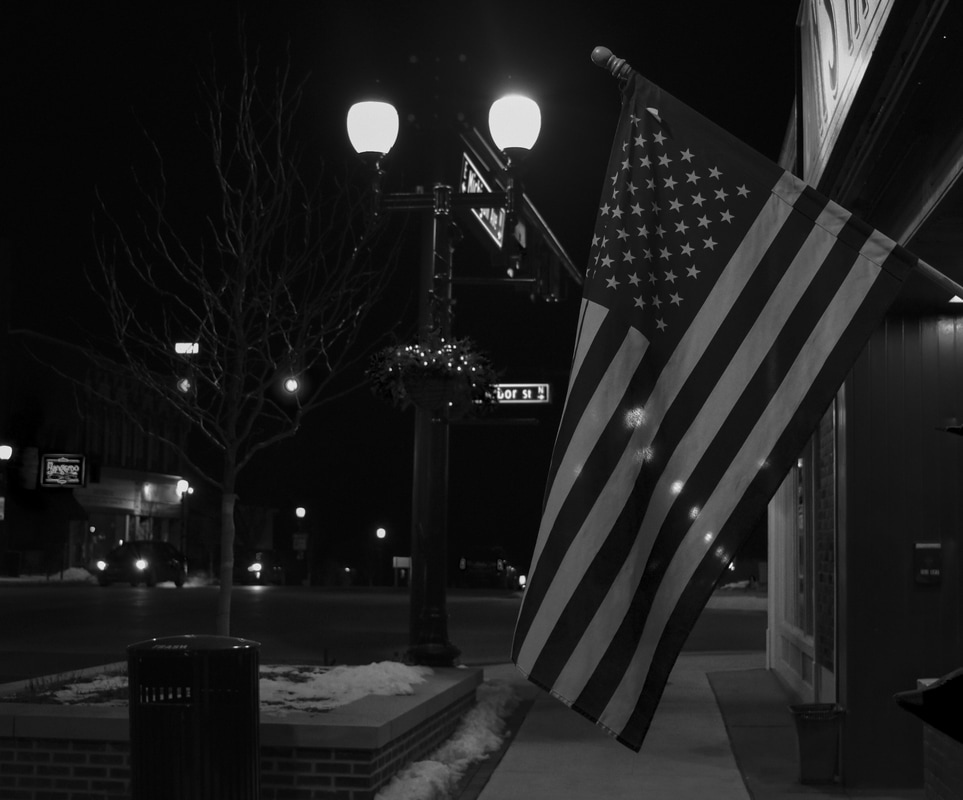
After missing the deadline for this blog post by 4 days, I finally am sharing my photos for the 4th photo assignment. I missed Monday, but nevertheless, here they are. For this assignment, I initially decided to do light painting, but after several failed attempts, I decided to do a black & white set instead. This was a really cool assignment to do as it taught me to really look for the element of contrast while taking an image. My best photo, shown below, was while I was still at my house. 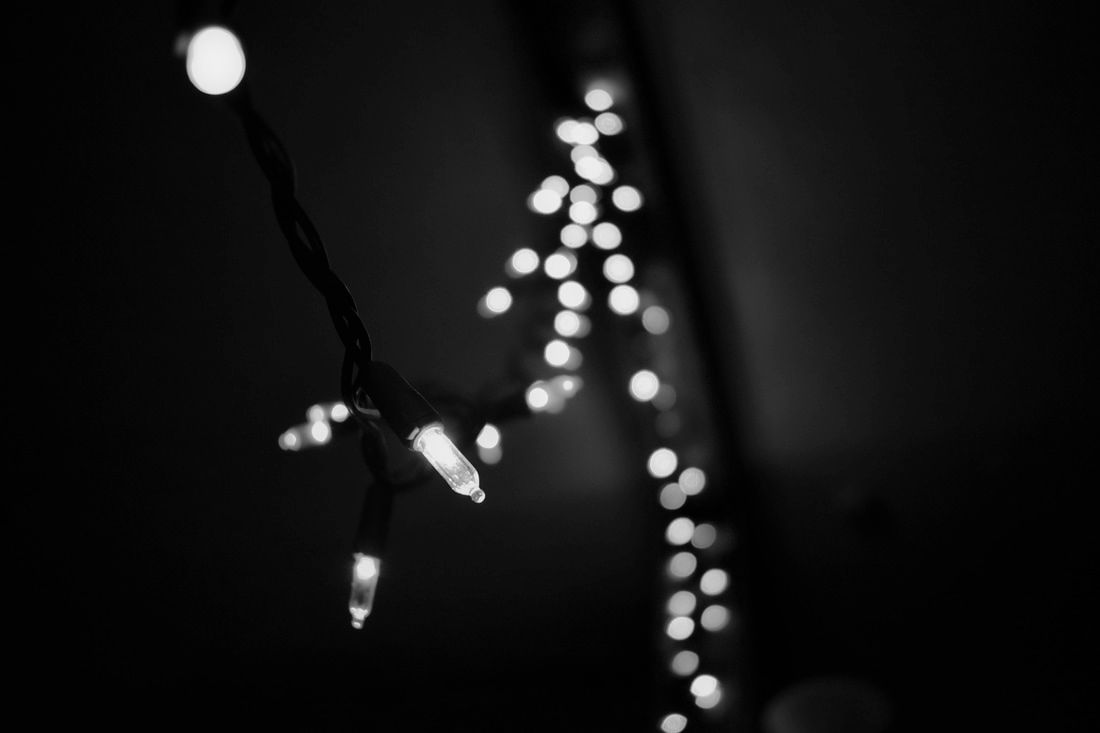 f/3.8, 1/40, ISO 800. Edits made: grayscale added, the exposures of the colors orange and yellow were decreased, highlights and contrast was increased. I used white Christmas lights for this image. I randomly chose one christmas light and focus solely on it, while the lights in the background added a lot of depth and contrast to the background, really causing for a cool shot. I will say that some inspiration for this image came from the cover of the song Paris by the Chainsmokers. This set really allowed me to work with the color modifier in the Camera Raw filter. After me taking 30 photos of the lights for this set, I realized I wasn't going to have enough photos that were unique, so I went out at 9pm on Sunday night to get some more, which most likely caused me to feel very sick Monday morning, but it was worth it. I took several image of the lights around Saline and I think they turned out very well. Some of the images I may have turned down the exposure a tad too much, but I really like the vibe they give off and the feelings the overall set portrays. I can't wait to shoot my next set and hopefully be as good as this one was.
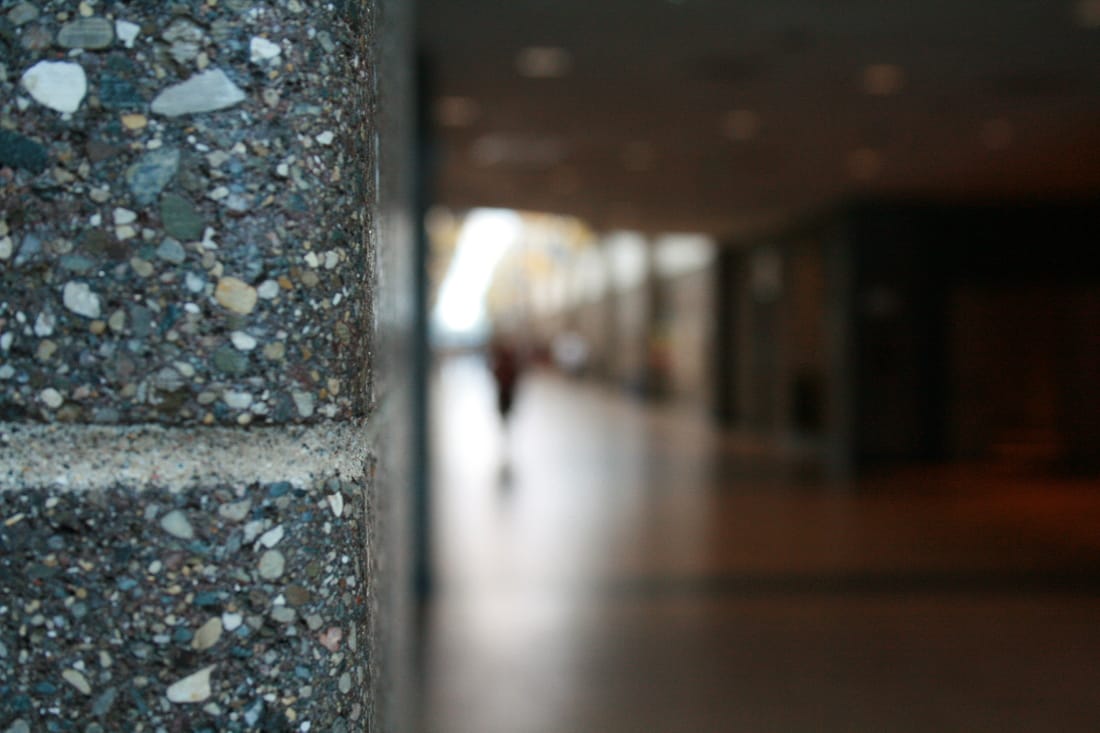
In this assignment, we were to take a picture of the school and change the context of it. Basically, we were supposed to change how the image looks to show something that isn't at the high school, at the high school. Here is the image I took. 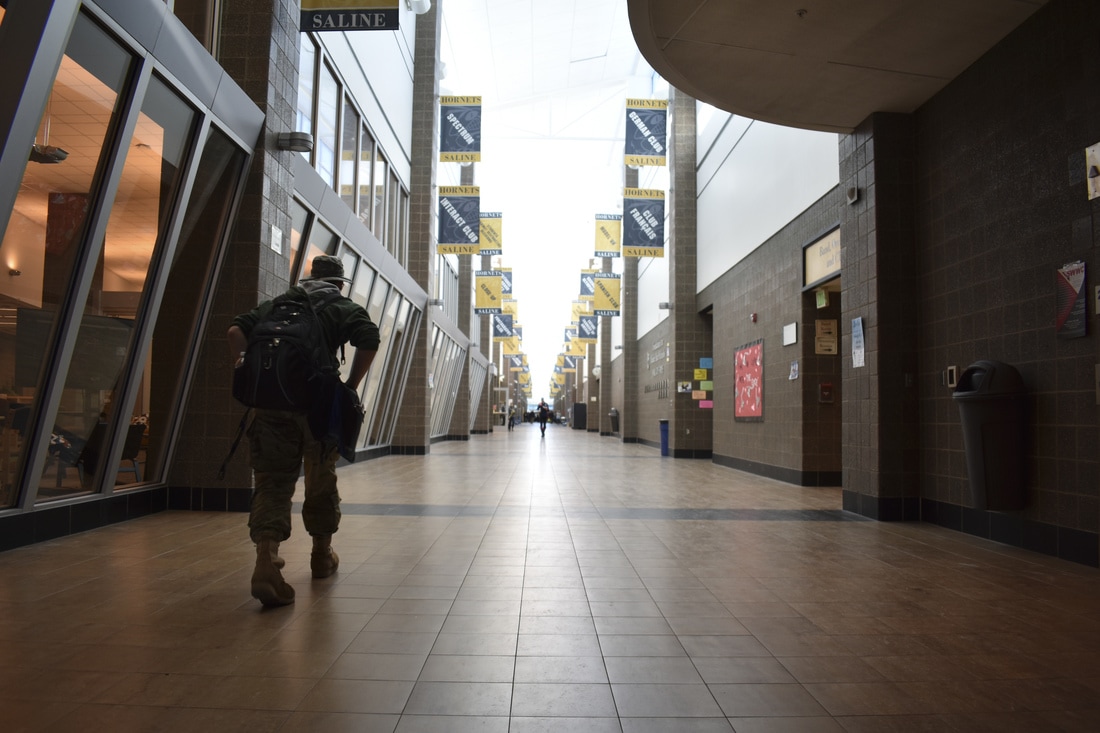 This image was taken from near the auditorium exit during 4th hour. Someone happened to walk in front of the image right before I took it, but I thought it was an excellent addition to the shot. After 3 fun days with Photoshop, I ended up creating this. 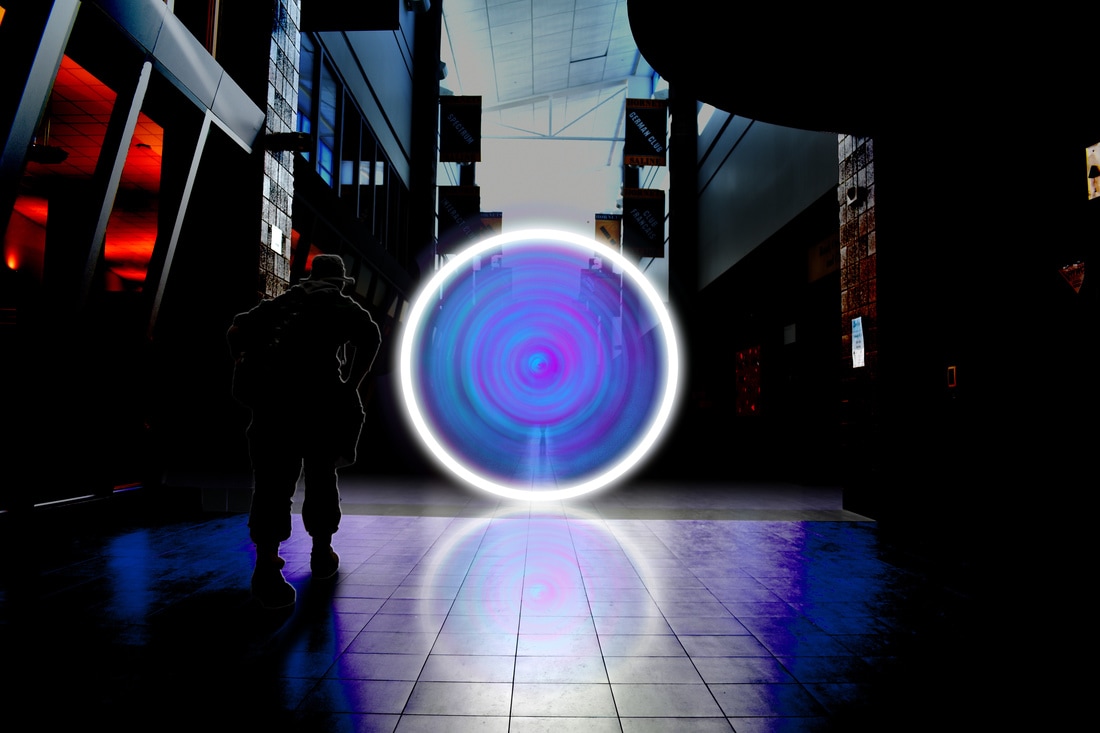 The only external help, excluding Mr. Bush, I received for this project was Ivy Gilmore's tutorial on how to make the center part of the portal. She lead to me the brush pack Glitter Photoshop & GIMP Brushes. I used those to create the portal effect, which ended up looking really good. I used Hue/Saturation changes, as well as changes to the Level of the photos to create this image.
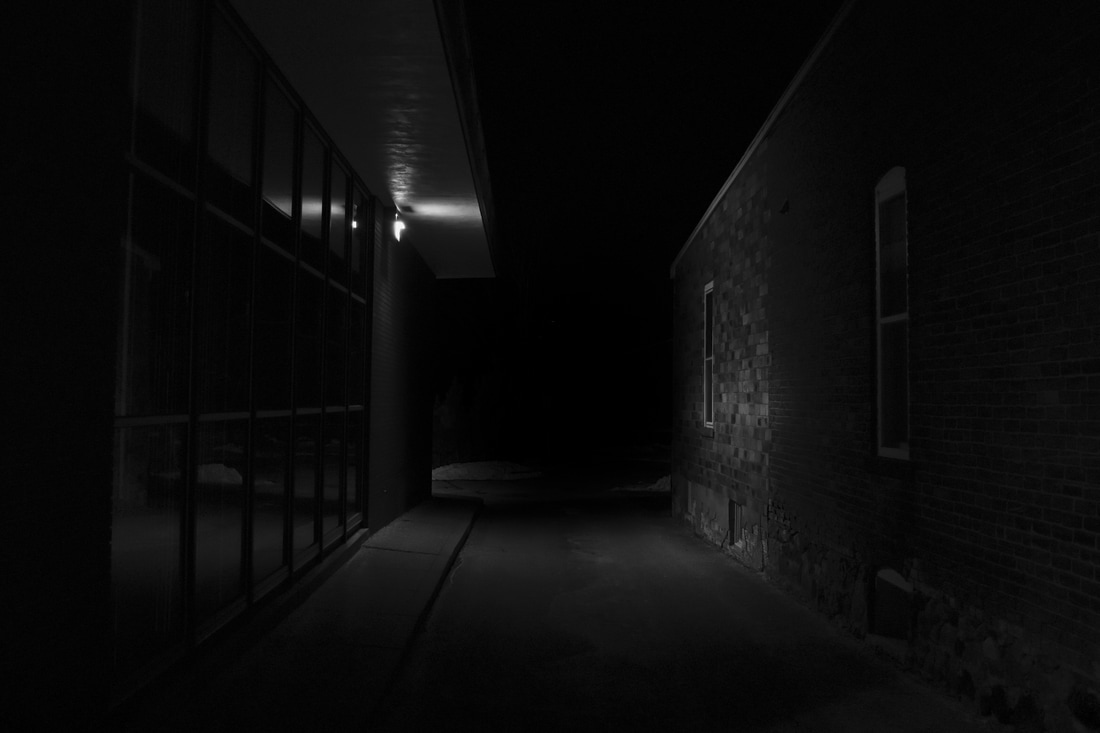
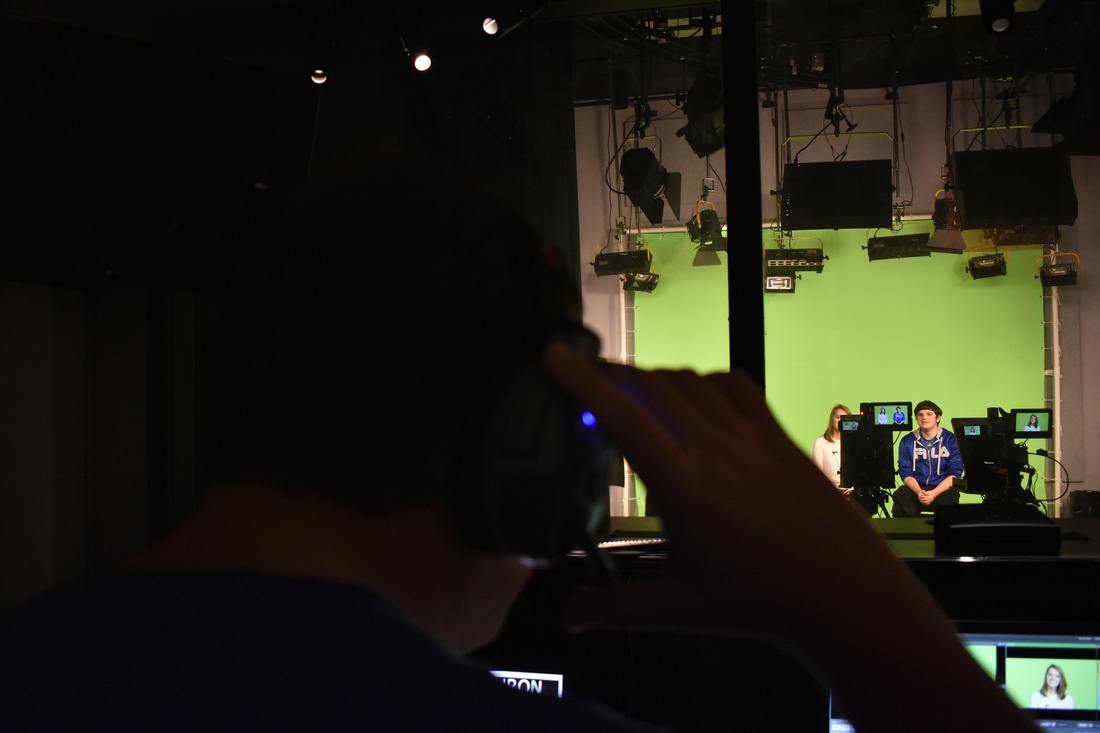
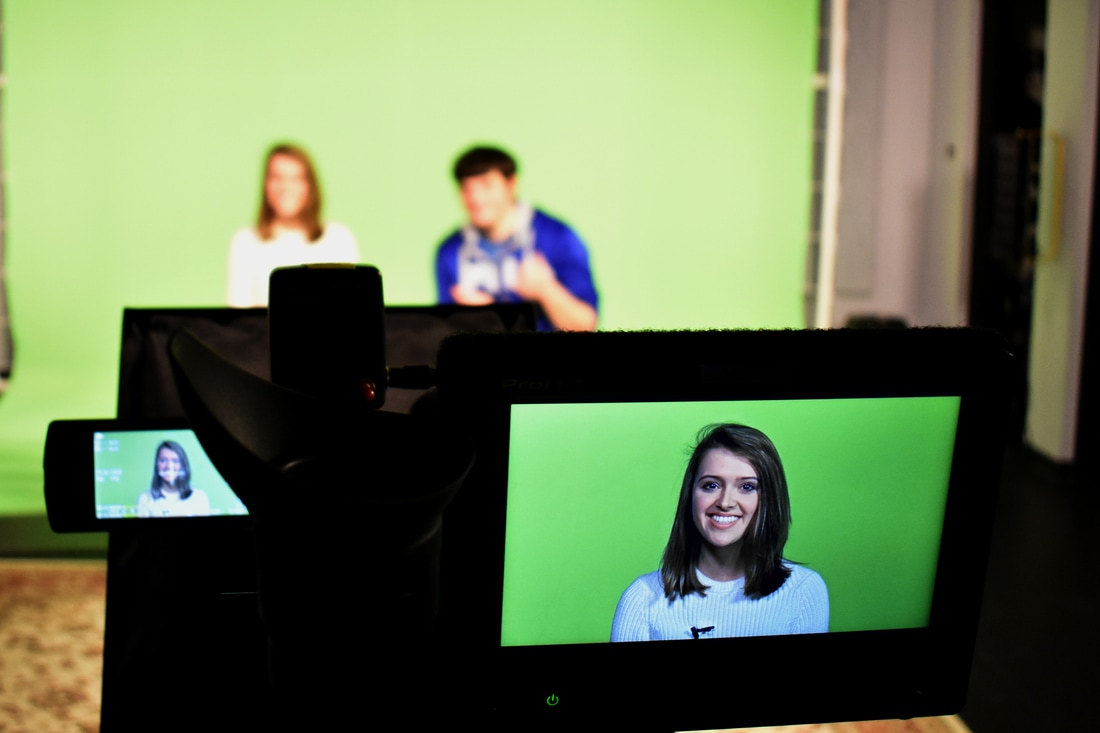
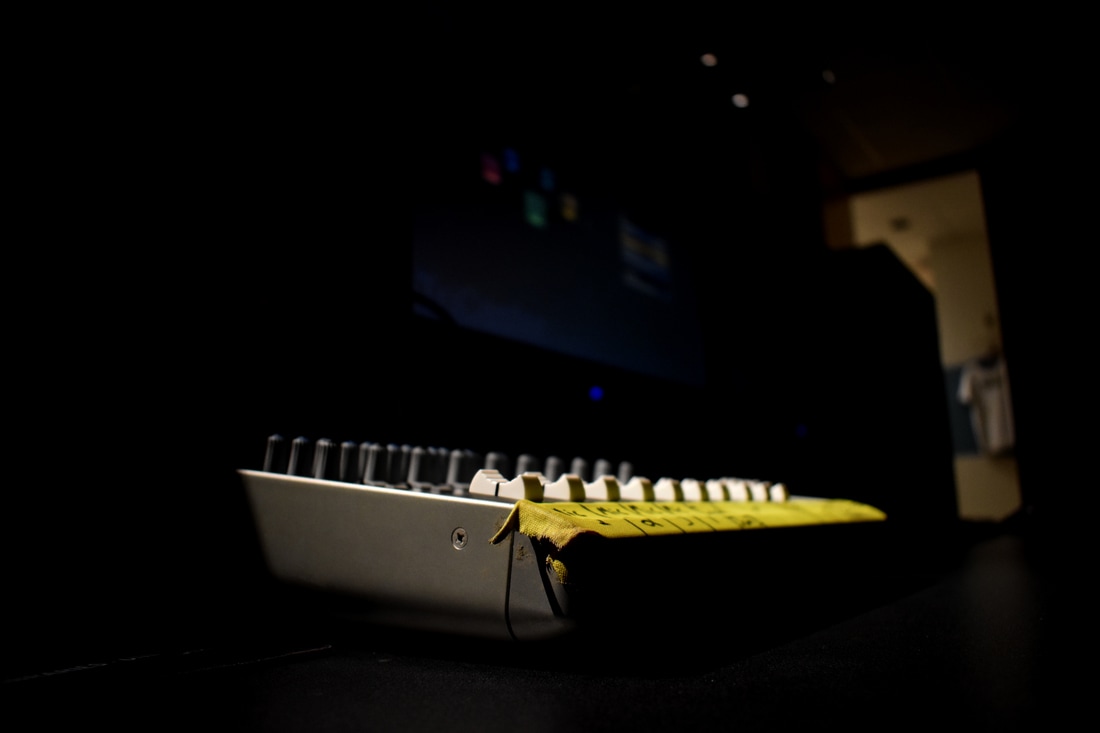
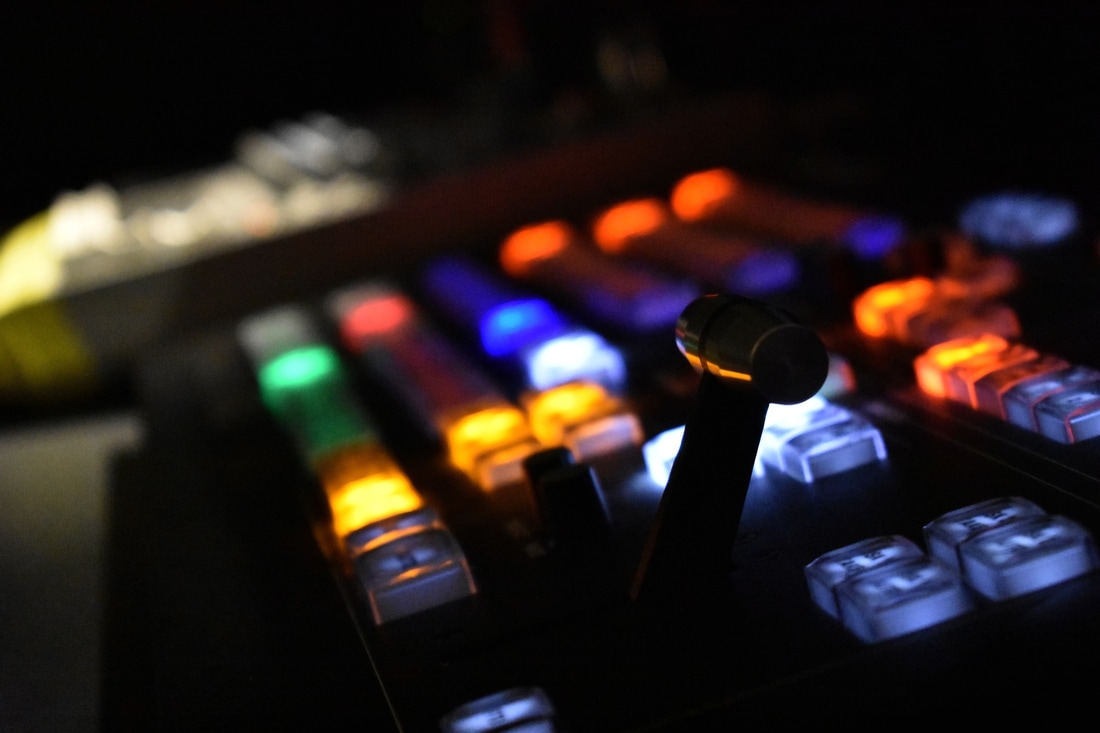
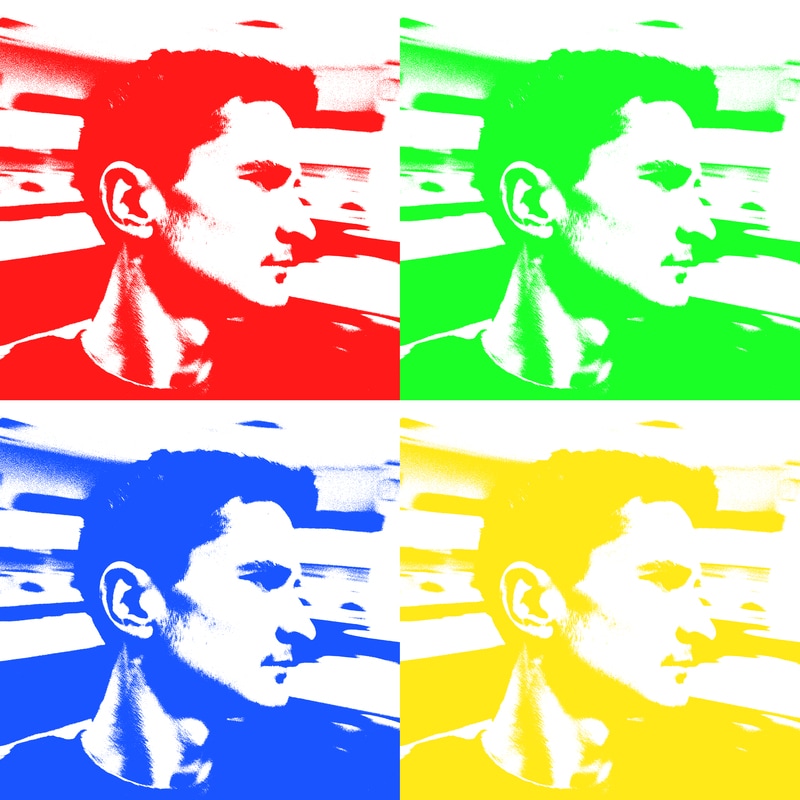
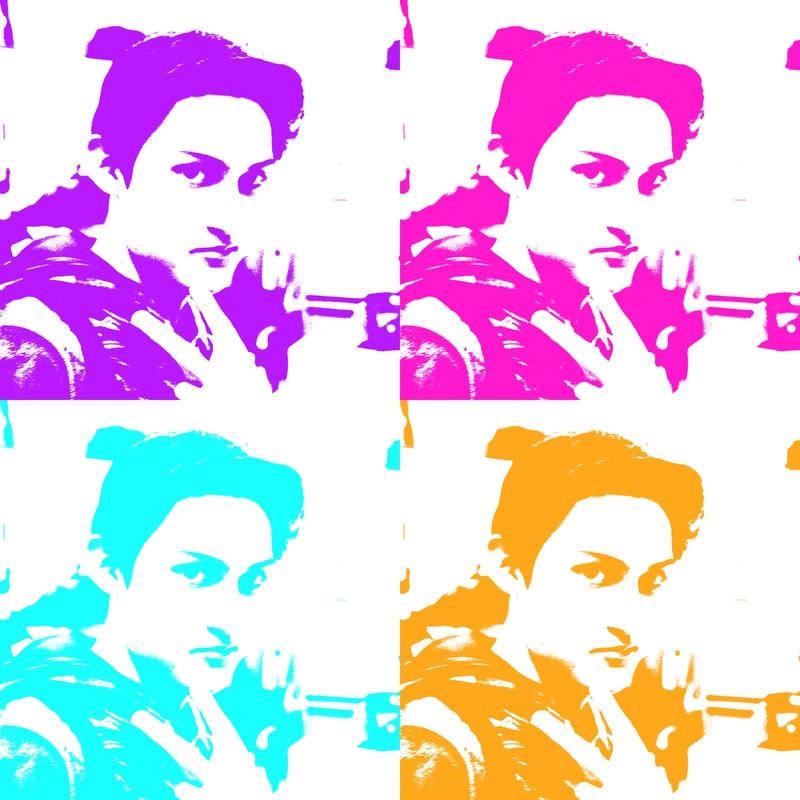
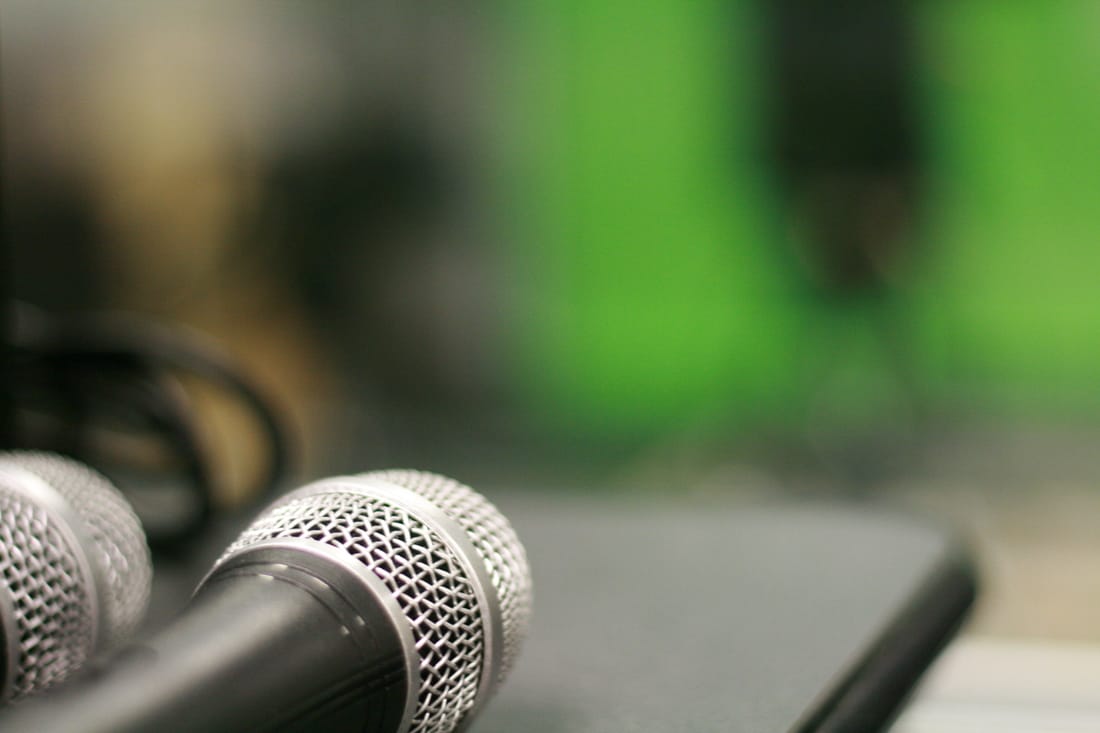
For my first shooting assignment, I shot pictures of a rehearsal of Saline High's very own sports show: Hornet Nation! Before the January 13th show of Hornet Nation, I was able to take some pictures of the Hornet Nation team preparing for the live show and what takes place behind the scenes of the 2016 MIPA Spartan award-winning show. This was an outstanding experience for me taking pictures as I was able to really deal with high contrast and low light areas. This assignment was also the first I was able to take with my Nikon D3400 camera that I got over winter break. 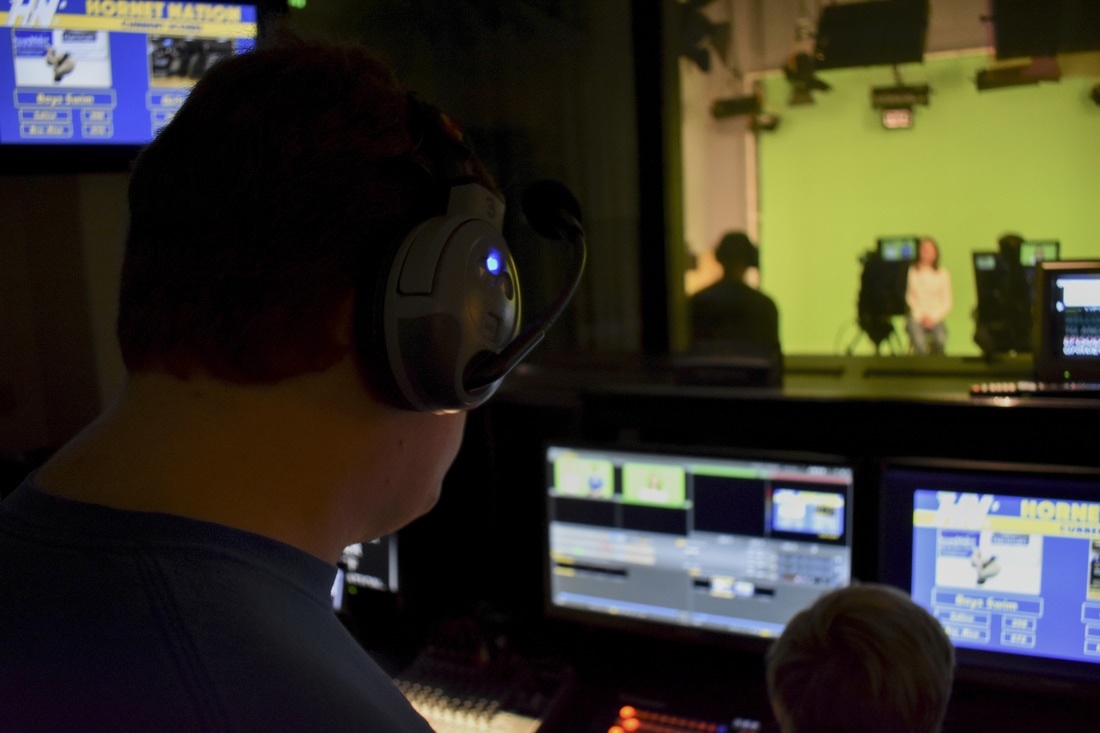 f/3.5, 1/100, ISO 1600 increased: exposure, shadows decreased: contrast, highlights, whites This image was the best of the 80+ images I took that day. The person in focus in the photo is my friend Collin Williams, one of the 4 directors of Hornet Nation. The background this image creates is also really nice. It shows not only the technology and the work that goes behind the camera, but also the anchors in front of camera. It captures the whole show and it does it really nicely. After some touchups to the lighting of this photo, I believe this was the best photo I took. The editing I did in this image was fairly basic, mainly changing the exposure and lighting of the image. I increased the overall exposure of the image and brightened the shadows, while decreasing the contrasr The images below are 9 other photos I shot that day that I thought were my best photos. For my third blog post, I will be post my work for the first photoshop assignment that we were assigned in Digital Photography. This was a extremely easy assignment for me because I already knew the functions and tips that were taught in this lesson, but it was a nice review for me. I completed it in less than 10 minutes and around 3 minutes for the other. The first image I used was from the spinning selfies lesson where we were taught about blurriness in photos. I thought it was a nice image of me so I decided to put it in. The image I used for my second pop art image is of my dear friend and coworker Ryan Braley. I just happened to find this image and thought it would work well. I'm excited to continue this class and learn more and more about photography!
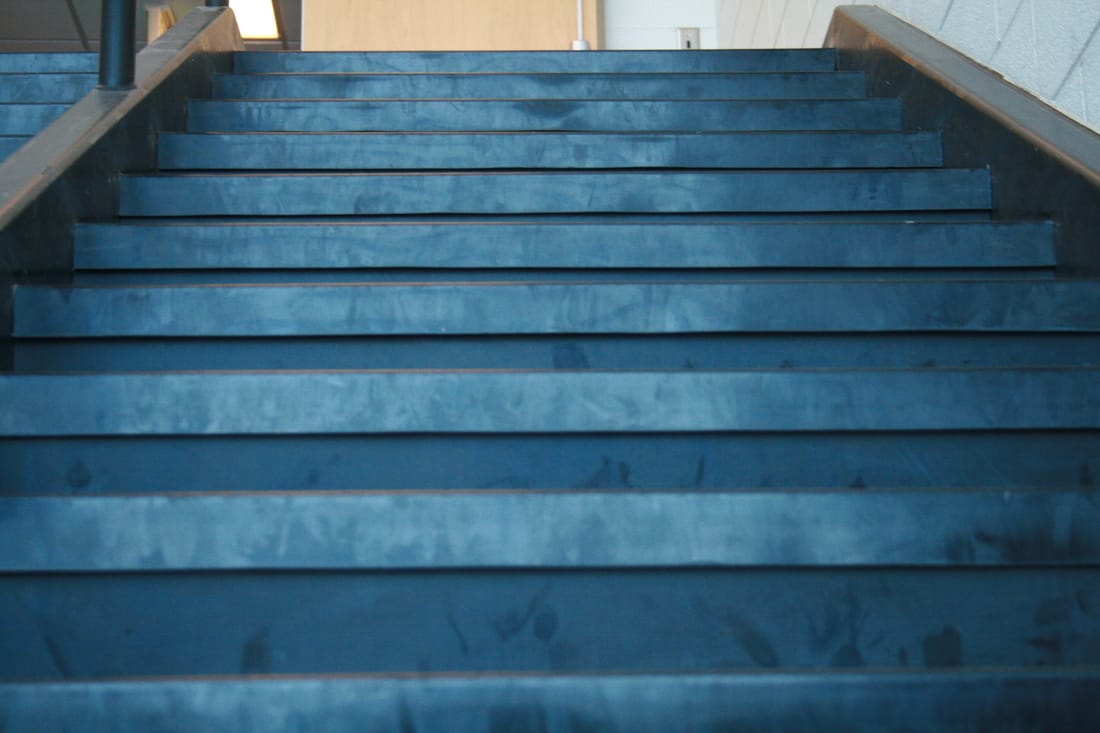
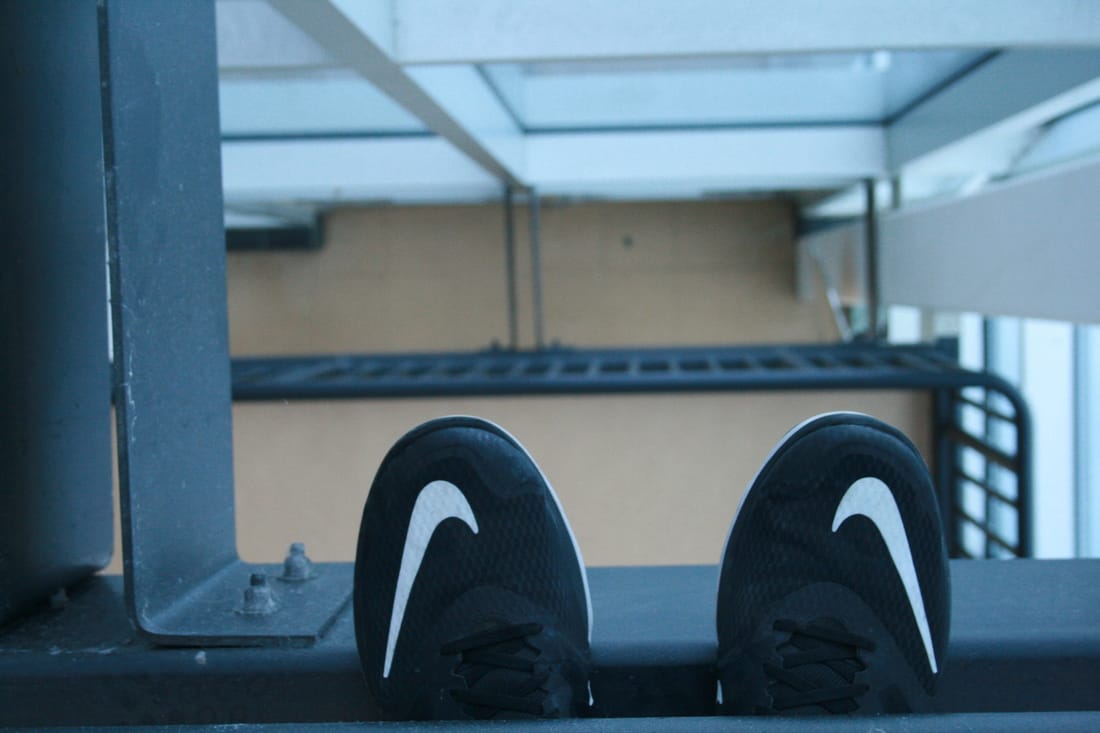
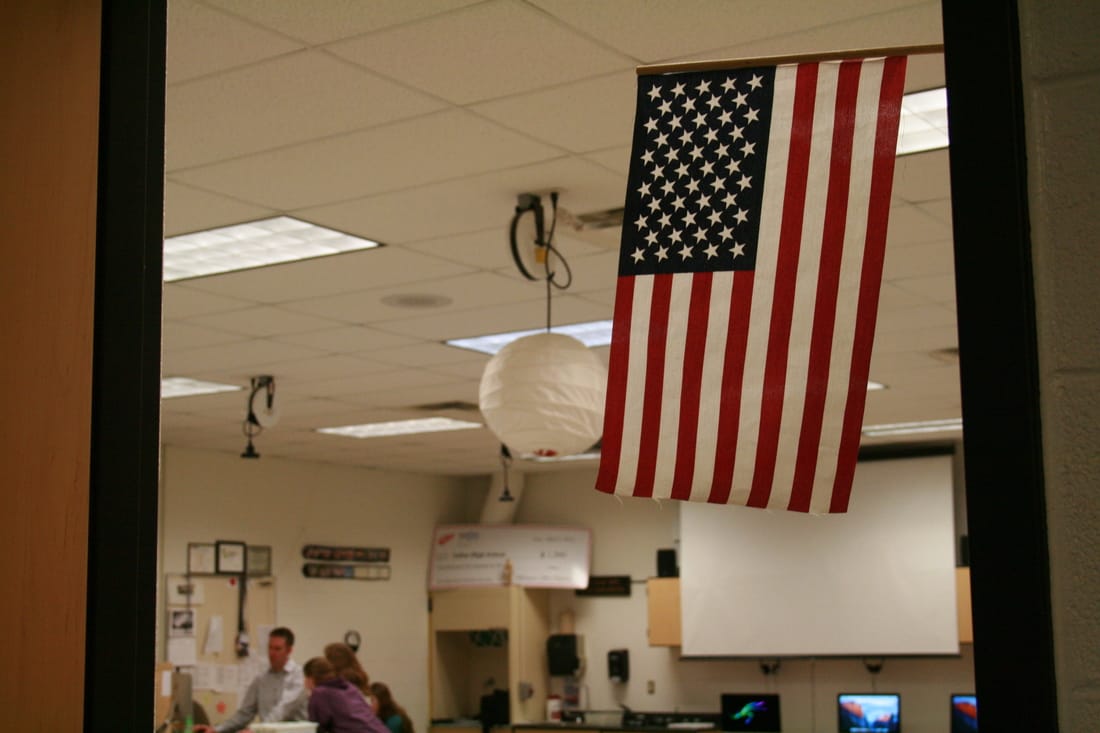
The first assignment of Digital Photography and the first assignment that will be posted on this blog is the Composition Assignment! In this project, we were taught multiple different types of Composition. We were then assigned to go out a take a photo that displayed each type of composition. The 11 types were:
I learned a lot about photo composition in this project and I feel far better at taking pictures already. This was a extrememly fun project and I look forward to the other project we do in the future.
|
Archives
May 2017
Projects |


 RSS Feed
